Last week I may have convinced you that you need a blog newsletter. You might be sitting in front of your computer right now sure of the benefits that a newsletter could bring to you, but unsure of where you are going to find the time to do yet another blogmin task. I totally hear you and I am here today to show you a way to create a newsletter in about five minutes that will update and send itself whenever you want it to. Sound too good to be true? Maybe, but it’s certainly possible.
Newsletters take many forms and can be used to help you achieve many different end games. I am going to show you the most basic of newsletters, which may not be all bells and whistles, but it will get your content out to your subscribers, keeping the relationship alive between you and your audience and it’s VERY low on time invested. Interested? Good, let’s get started.
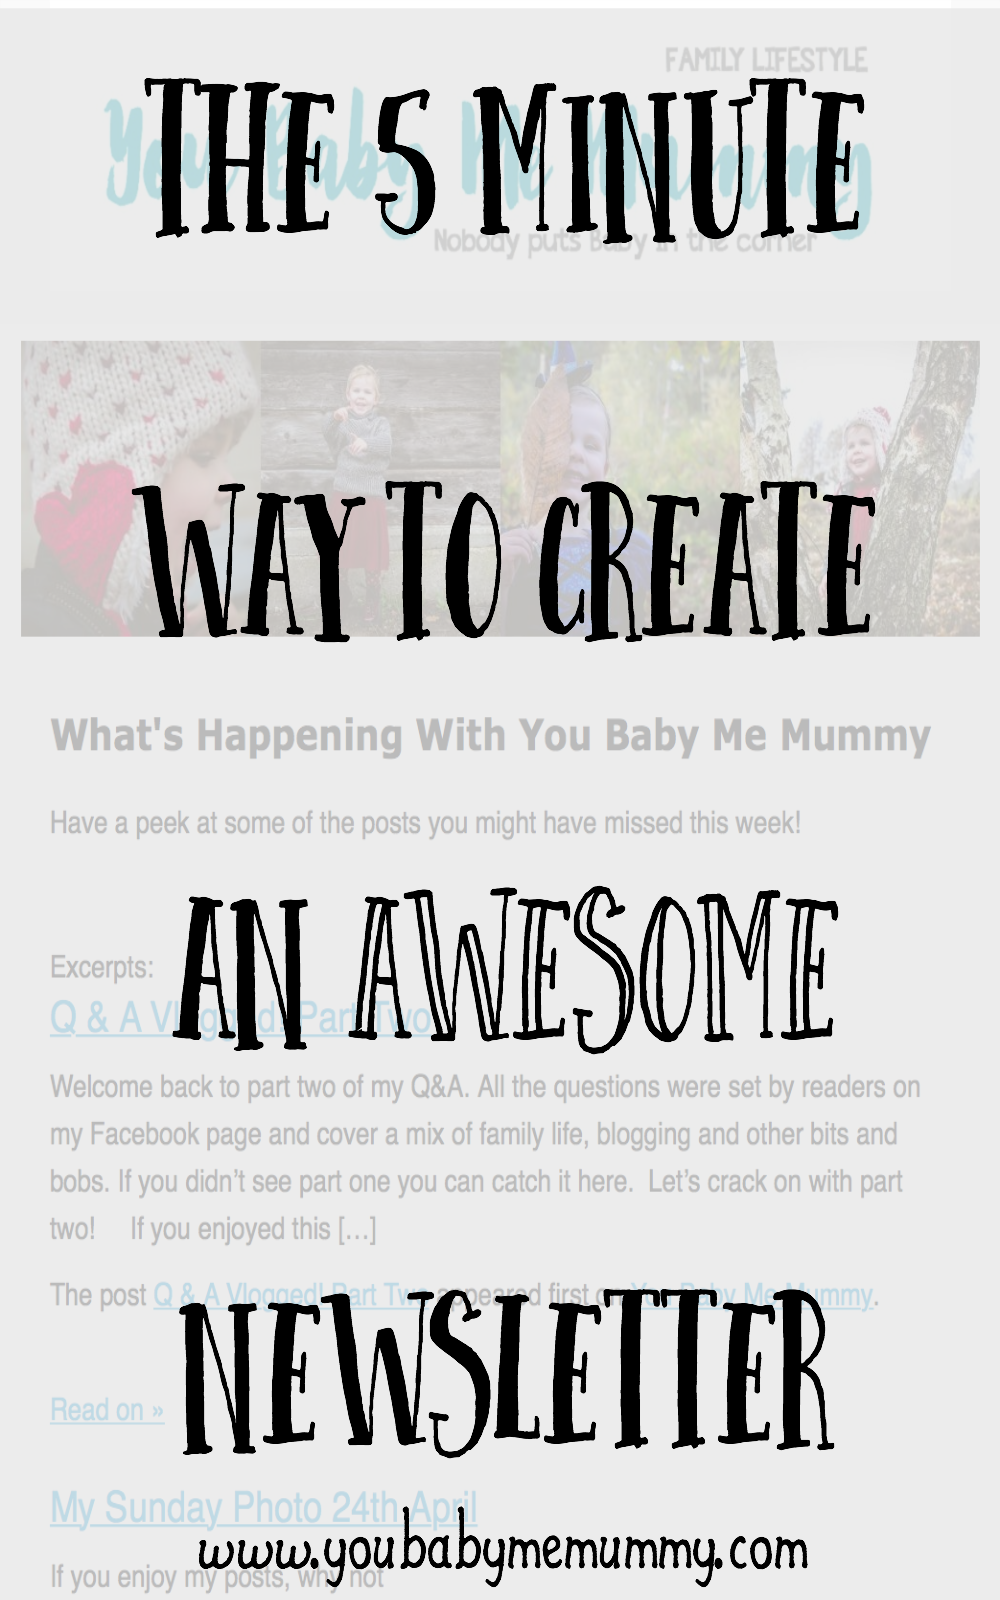
I am going to show you how to set up a RSS feed newsletter using MailChimp. If you have under 2000 subscribers that you can use a free MailChimp account. I pay $10 per month to enable me to use a few functions that the free service doesn’t offer, but for the purpose of today the free account is fine.
Set up a MailChimp account
If you haven’t already got a MailChimp account then you need to sign up now. Pop over to the MailChimp website and click on the ‘Signup Free’ button. Enter your details and create your account. Once you have signed up, head over the the dashboard area.
Create your email list
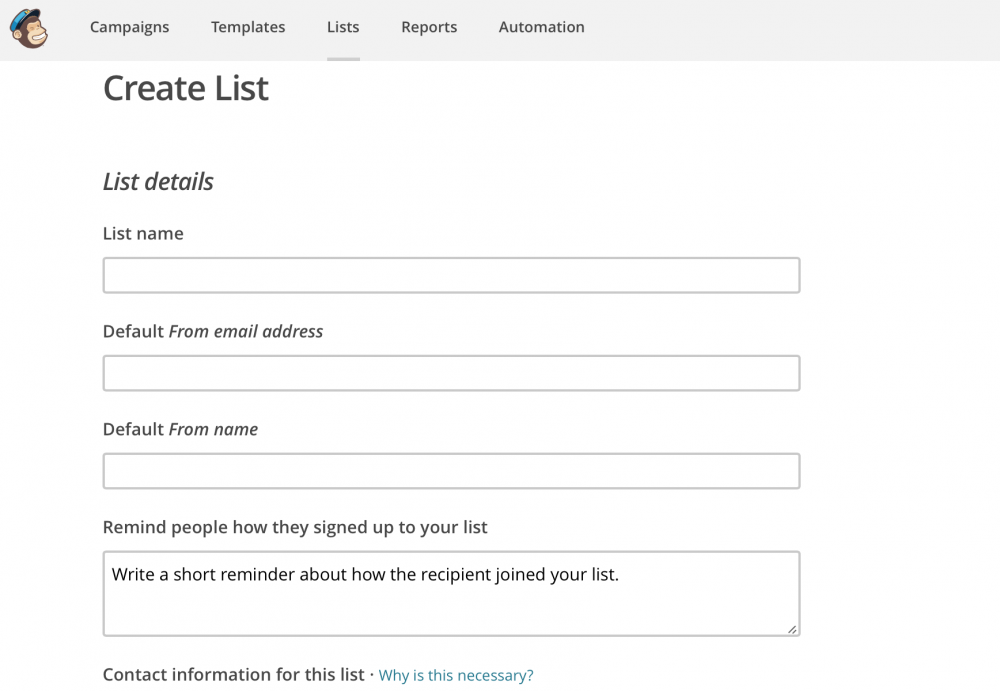
Before you can send your newsletter, you will need subscribers and a way to allow people to become subscribers. Click on ‘Create a List’, then enter the details; name of your list, your email address etc. Click Save.
So now you have a place for people’s email addresses to be stored, you need a way for them to give their addresses to you and here’s where you need a sign up form.
Add a Signup Forms to your WordPress blog
MailChimp has a variety of different sign up forms, pop-ups, standards forms or little boxes that you can embed. You can also use a third party programme, but today we will just deal with the quickest and easiest way of creating your newsletter.
Go to the Lists page and you will see a downward arrow button next to your email list, click and and select sign up forms, which will bring up this page; showing you the different types of forms you can use.
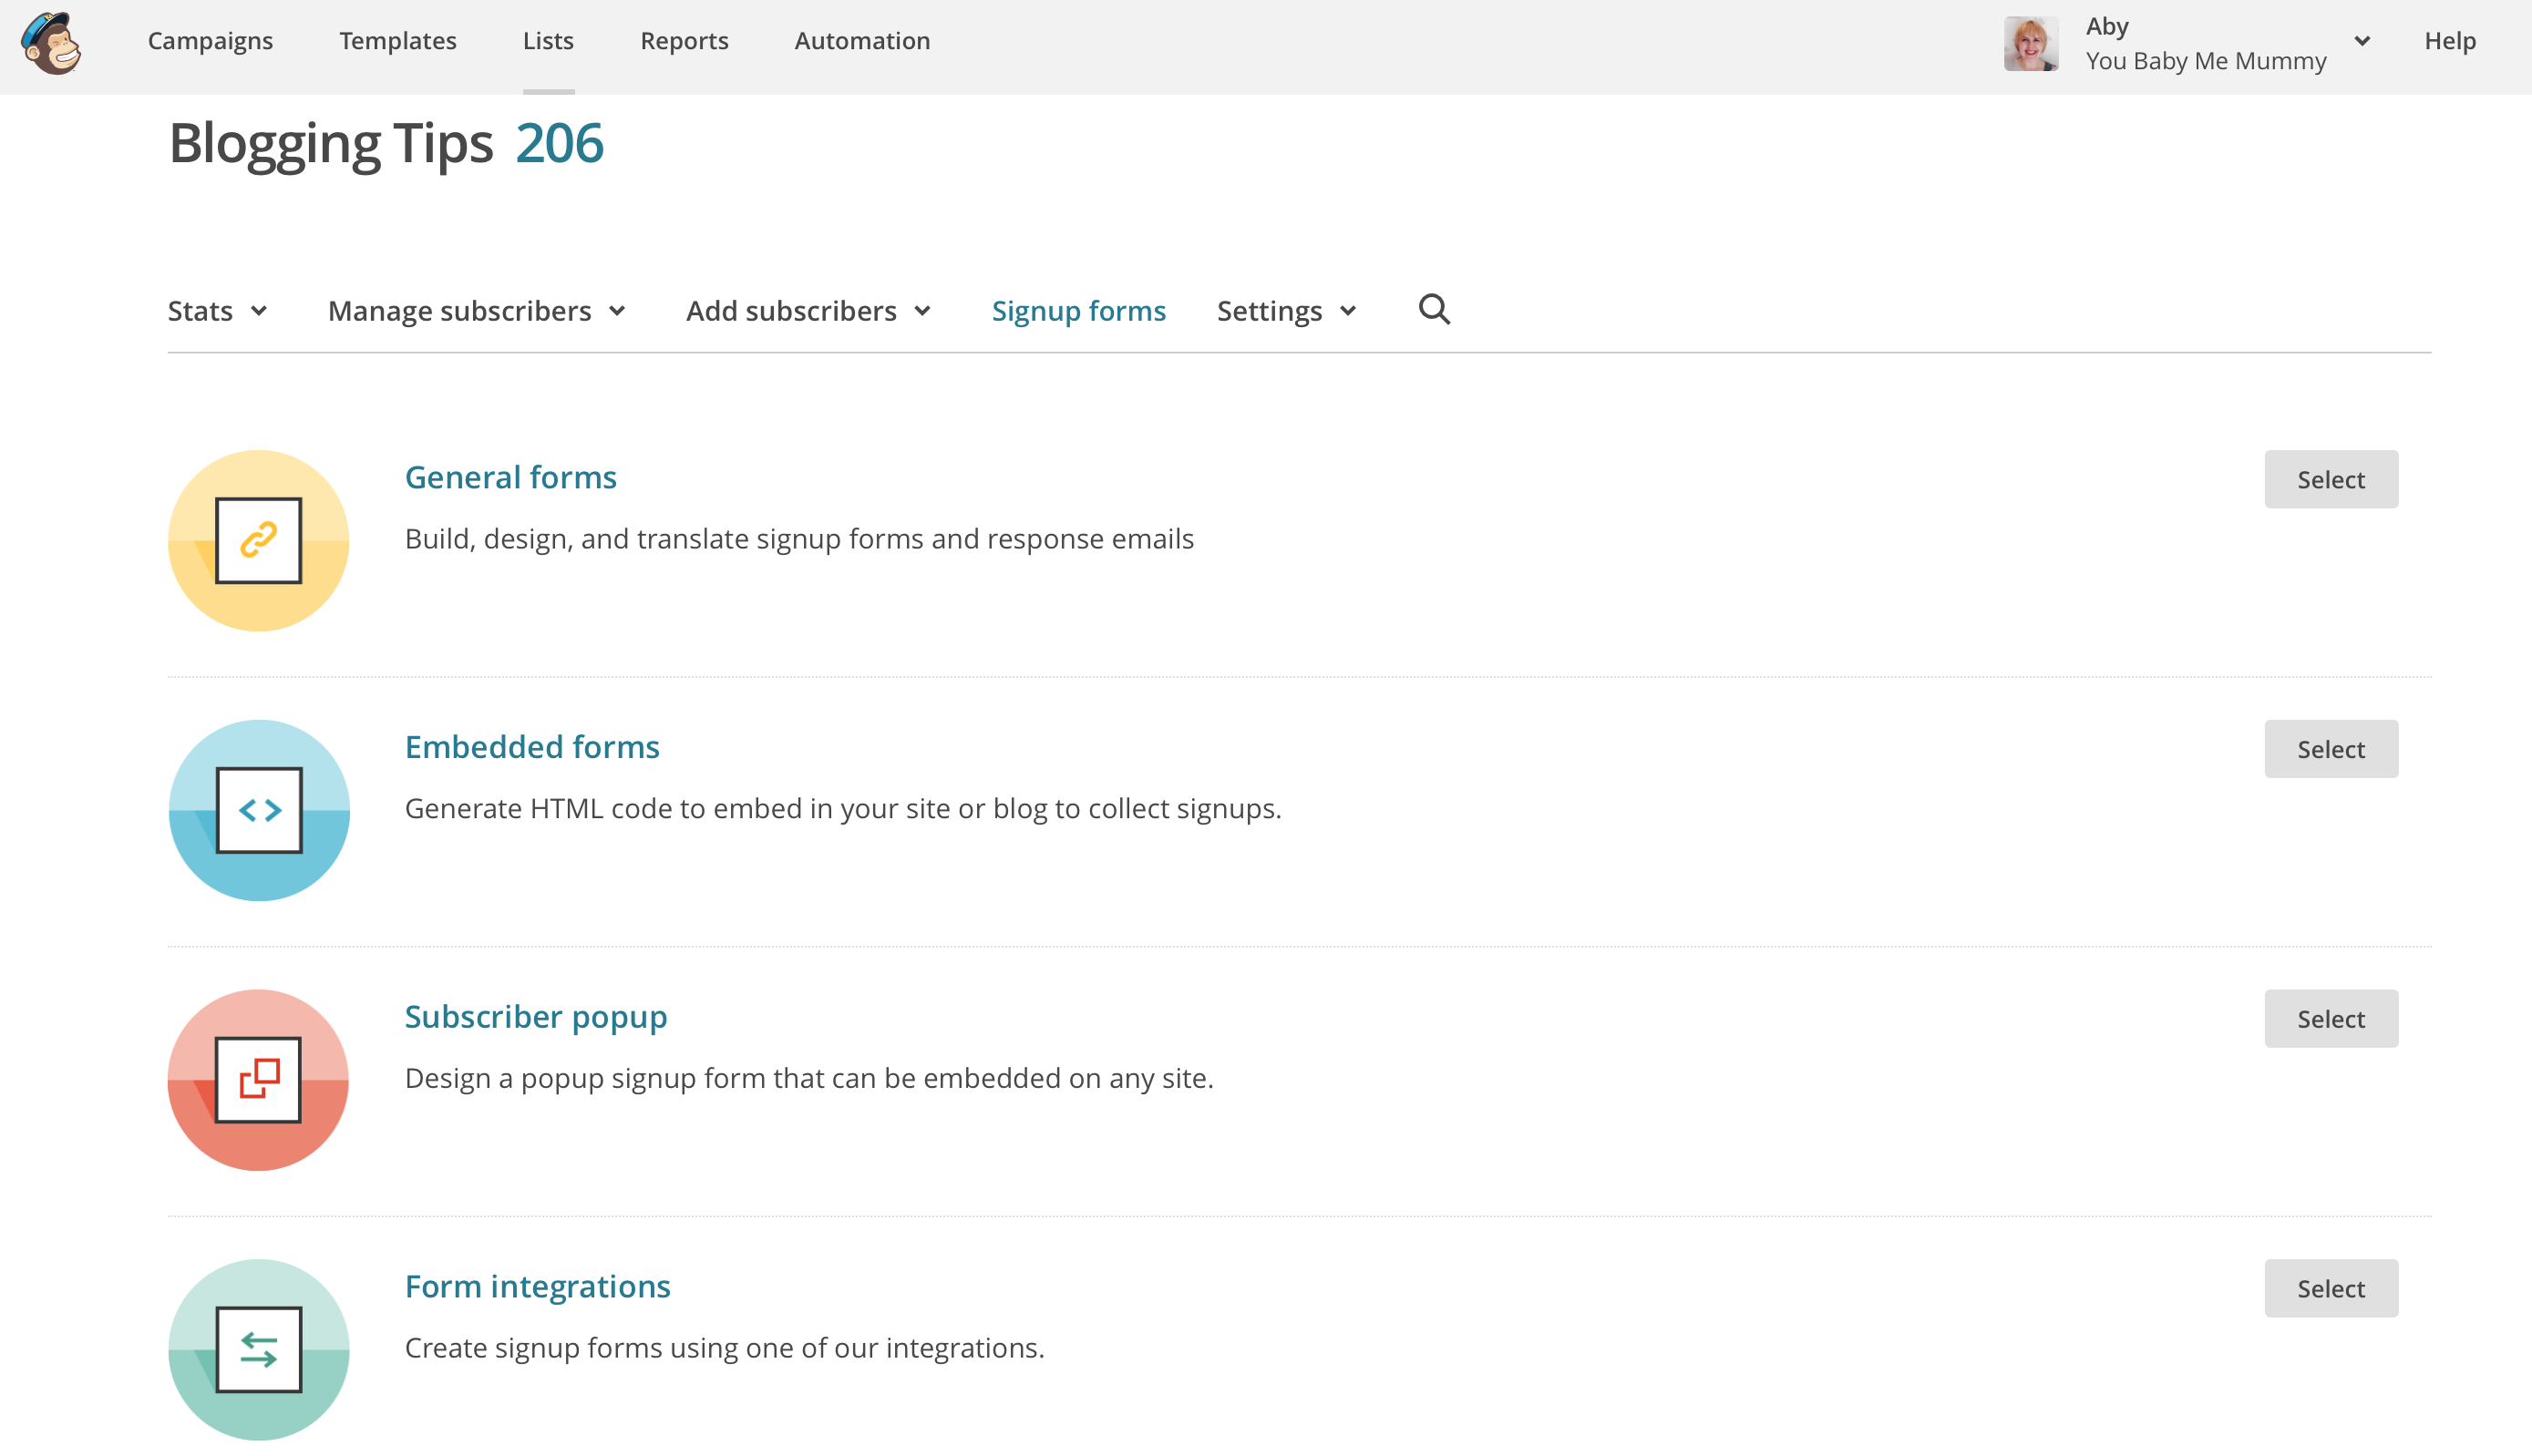
Select Embedded Forms. This takes you to a page where you can create your form, decide on the fields to include, customise the text and layout. The form you chose depends to some degree on where it will be positioned, in my sidebar I have used the super slim design.

Then when you are finished, you just need to copy the embed code.
Adding the code to your blog
Go to your WordPress dashboard, click on Appearance » Widgets. Find the Text widget option and drag it to your sidebar, then open the widget and paste the signup form code into the box. Now you will be able to start building your subscribers list. You may also decide to pop a subscribe form on any popular posts or at the bottom of each post. It is up to you.
How to set up your RSS Feed Newsletter
As explained before you can create bespoke newsletters each week, handpicking certain posts, adding extra information and there is no doubt that this is probably the most effective form of newsletter, but sometimes we just don’t have the time to take on another regular task. Here is where the RSS Feed newsletter can be a godsend. The worst thing you can do is to get people to sign up to your mailing list and then never send them anything, so the RSS Feed newsletter will make sure they get reminded of all your latest content without you tapping a single key (after set up that it!), it will do it automatically.
To setup an RSS to Email campaign click on Campaigns » Create Campaign (right hand side). In the drop down the last option is RSS Campaign, select this option.

Enter your RSS feed URL, which is usually your blog url/feed (https://www.youbabymemummy.com/feed in my case). Then pick how often you want it to send an email and the time. Then click on the Next button at the bottom right corner of the screen (sometimes a little tricky to see).

You will now have to select which list to send these automated emails to, so pick the list you have just created (send to entire list) Then again click next at the bottom of the screen.
Now it’s time to fill in your campaign details. I leave the default settings and just add the name of my campaign. I also have to click acknowledge risk of sending from a gmail account. Then progress by clicking Next.

Now you need to select a template for your newsletter. There are so many to chose from, pick the one that works best for your needs and select it. When you have selected the template you can drag and drop content items, and customise the text.
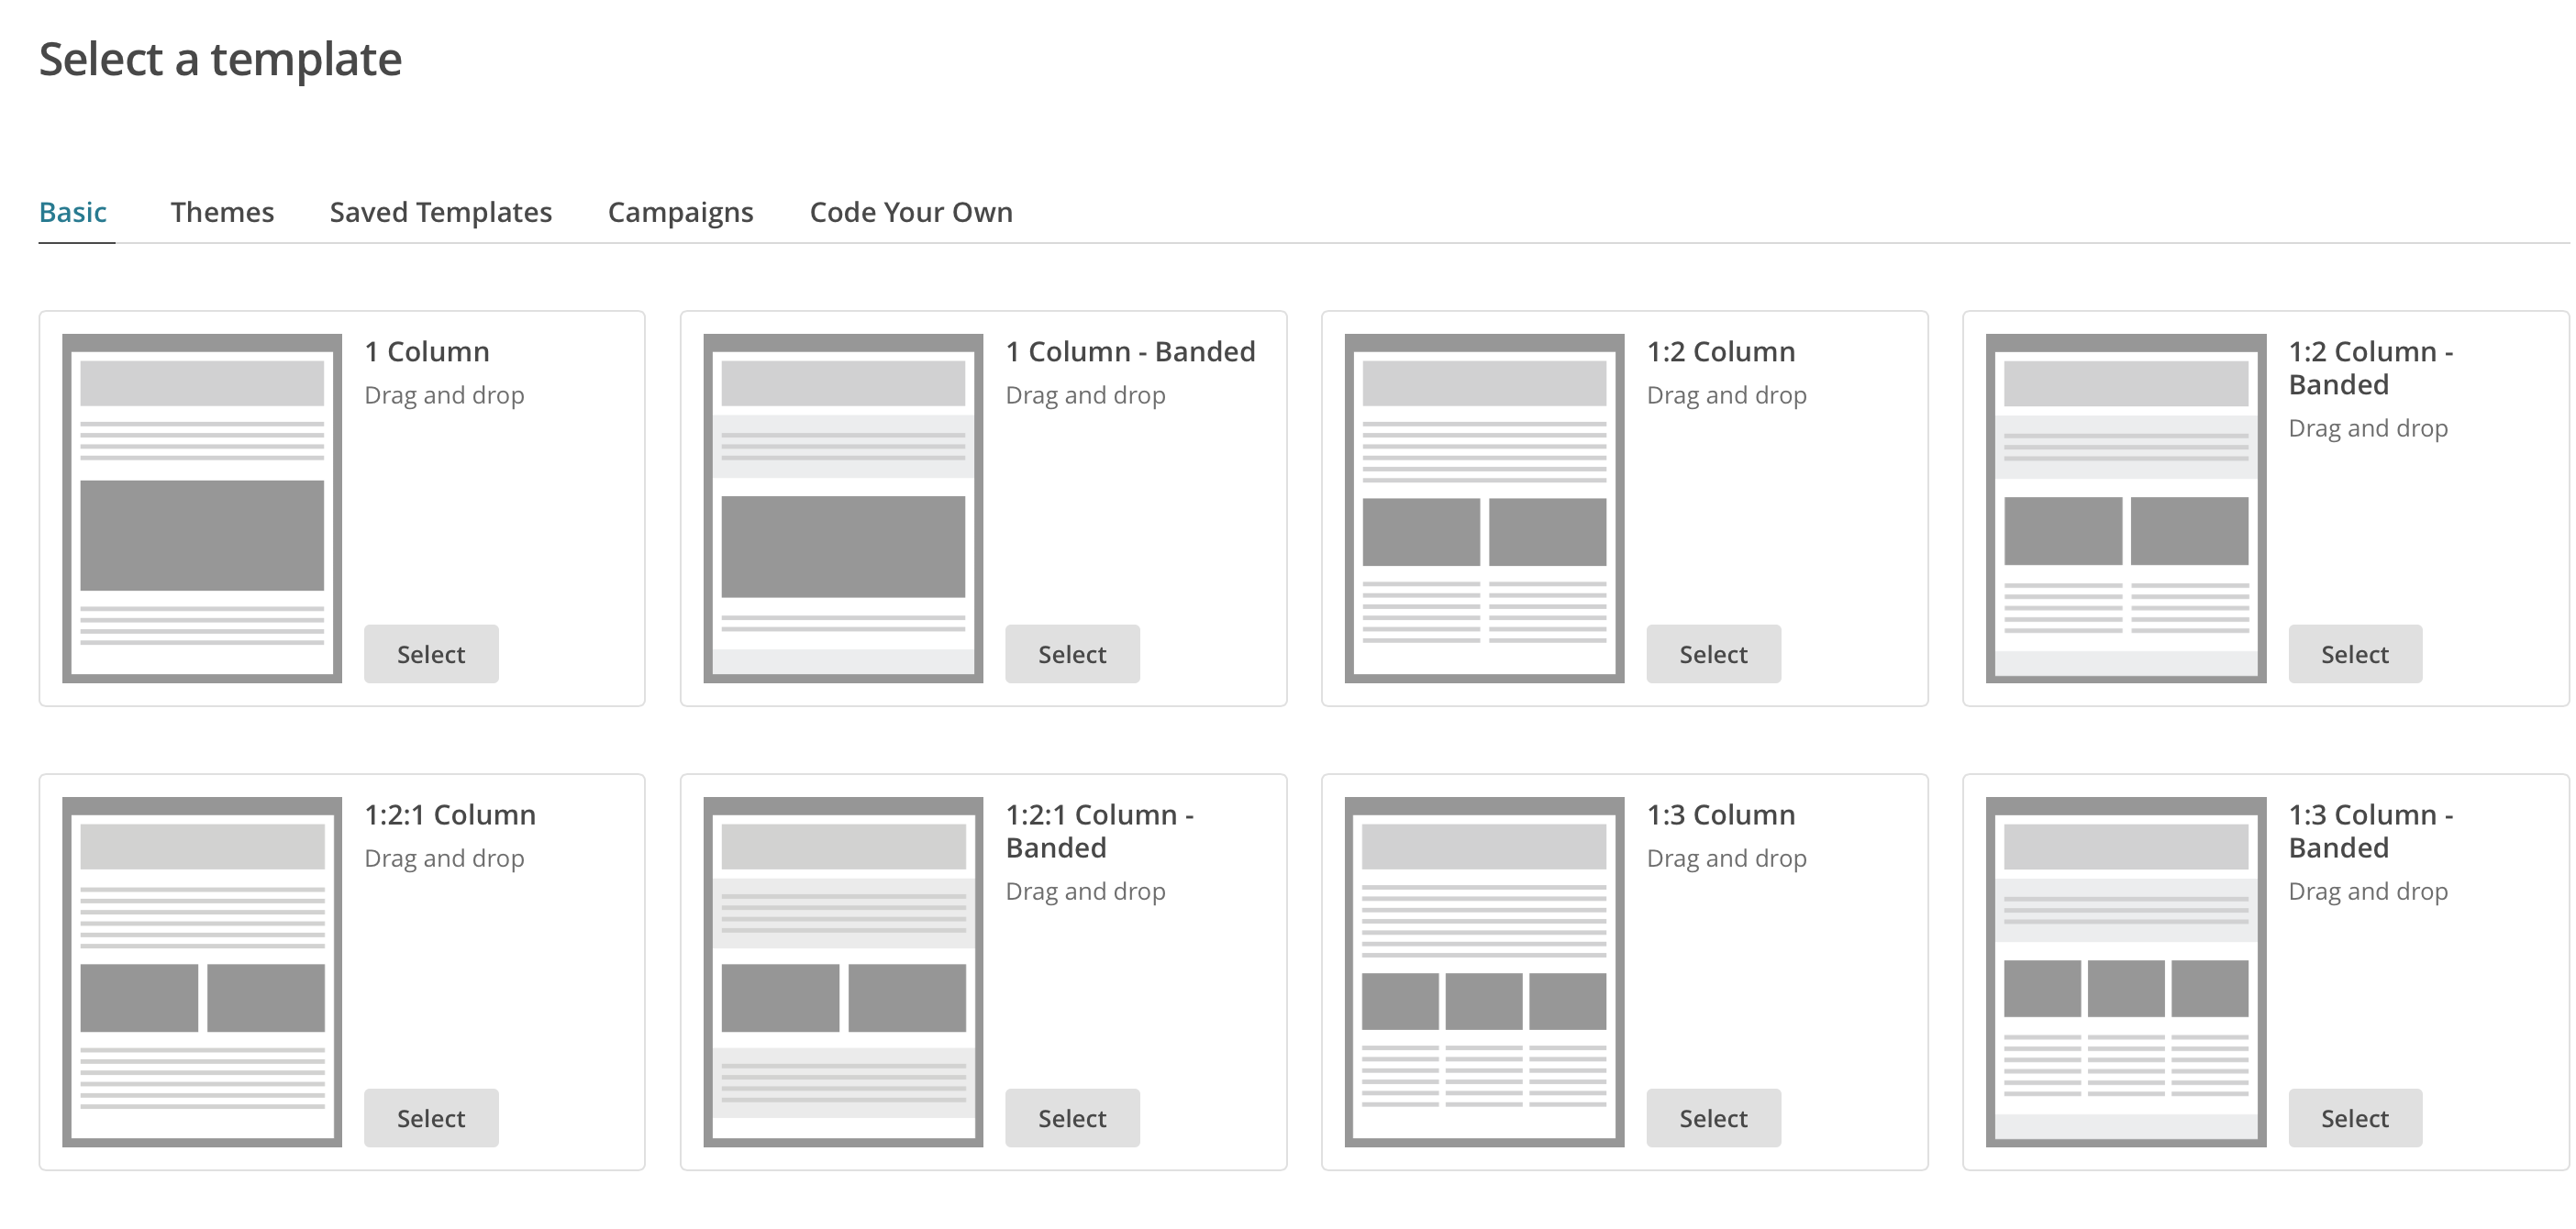
Remember the text you add in will show up each time the mail out is sent, so make it general and not specific to any given time. You must add in the RSS Items box to your template, as this is how the content from your blog will find it’s way to your newsletter. Then click Save and Exit (top right).

That’s it you have set up your email newsletter, which will be sent to all subscribers at the frequency you set. I hope this post has helped you and if you have any questions please let me know and I will do my best to answer them.